Learn how to do a quick and easy DIY stair railing makeover. Find step by step instructions, and a walk through of what we did in our own space.

How To DIY Stair Railing Makeover
- Measure height and width of desired railing
- Draw design to scale on graph paper
- Cut boards down to size
- Cut notches/design
- Predrill holes
- Screw boards to existing railing
- Fill in screws holes
- Sand down screw holes, rough edges & existing railing if it’s to be painted
- Paint railing- usually a minimum of two coats

How Our Makeover Started
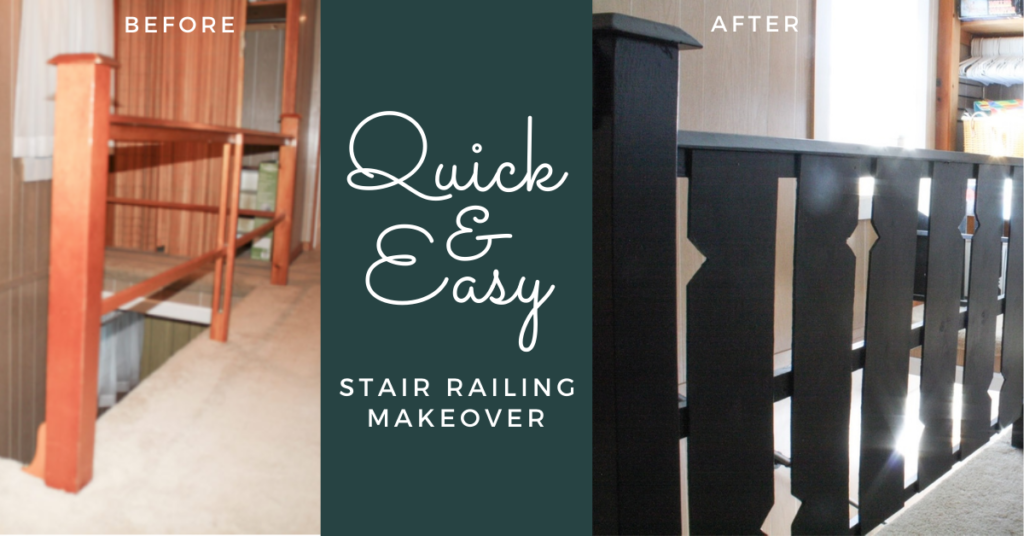
As you can see above we started with a very basic and open stair railing. This is how it looked on move in day. (Notice the lovely accordion closet door we took down as fast as possible.) We knew we were going to need to do something to make it safer once we had kiddos running around. Too many scary possibilities with those big openings.
I was inspired by a house in a town next to ours with porch railing similar to what I created above. It looked like an easy enough design that would not clash with our old farmhouse style. It also isn’t something that is over done, which I like. I like to go for something slightly unexpected.
Our DIY Stair Railing Makeover Process
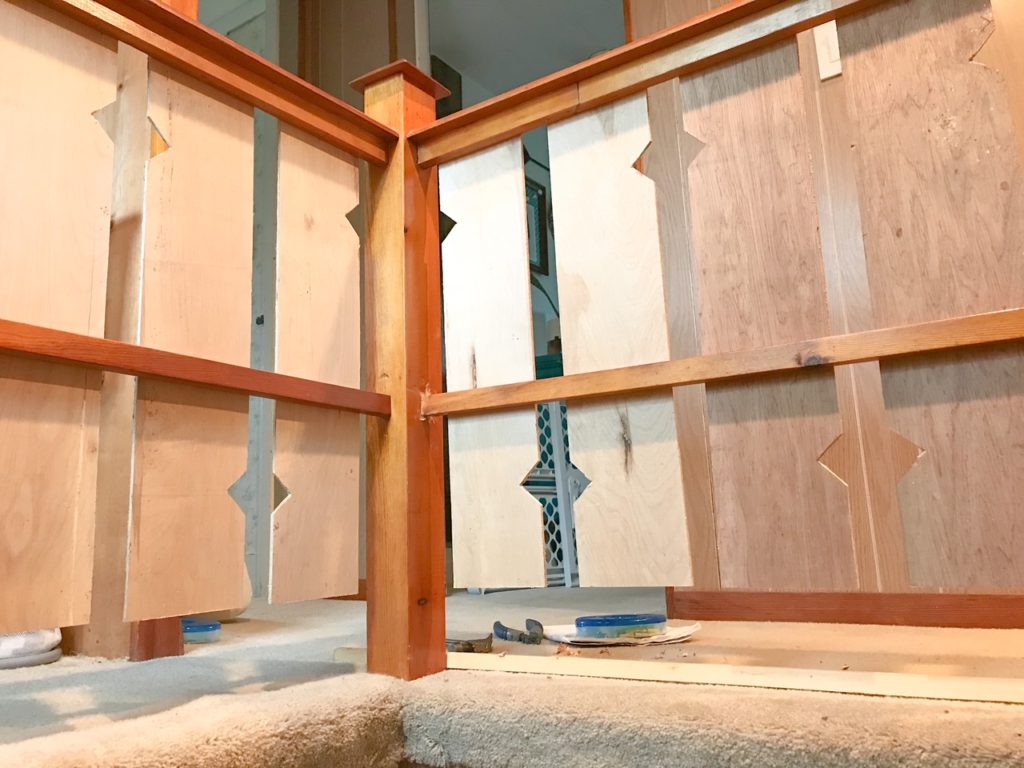
Luckily we had a pile of long strips of luan in our woodshed that were left behind from one of the previous owners. So this was a win/win. A free project that used up these seemingly random pieces of wood taking up precious space in our wood shed.
If you aren’t lucky enough to have free luan sitting around it is easy enough to come by at a big box hardware store. They will also usually cut it down for you. The railing design options are endless. My boards are about 5.5 inches wide but you could obviously cut yours wider or narrower.
The notch on ours starts 4 inches off of the top or bottom of the board. It’s a 2 inch tall notch that is about 1 inch wide. Again you could do more notches or different sized notches. I drew my design up to scale on graph paper before I did any cutting. This is something I always try to do before starting a project. It is so much easier to erase and redraw than to cut and recut.

I measured how tall these vertical pieces needed to be and started cutting them down to size. Once down to size I started to draw the design on each of the pieces, and started cutting those notches out. I used the miter saw, I’m not sure if that’s the best option but it worked for me.
When all of the boards were cut down to size and notched I drilled holes into them to avoid splitting the thin luan. I used short screws to hold the boards in place on the existing railing. Next I filled in any holes with wood filler.
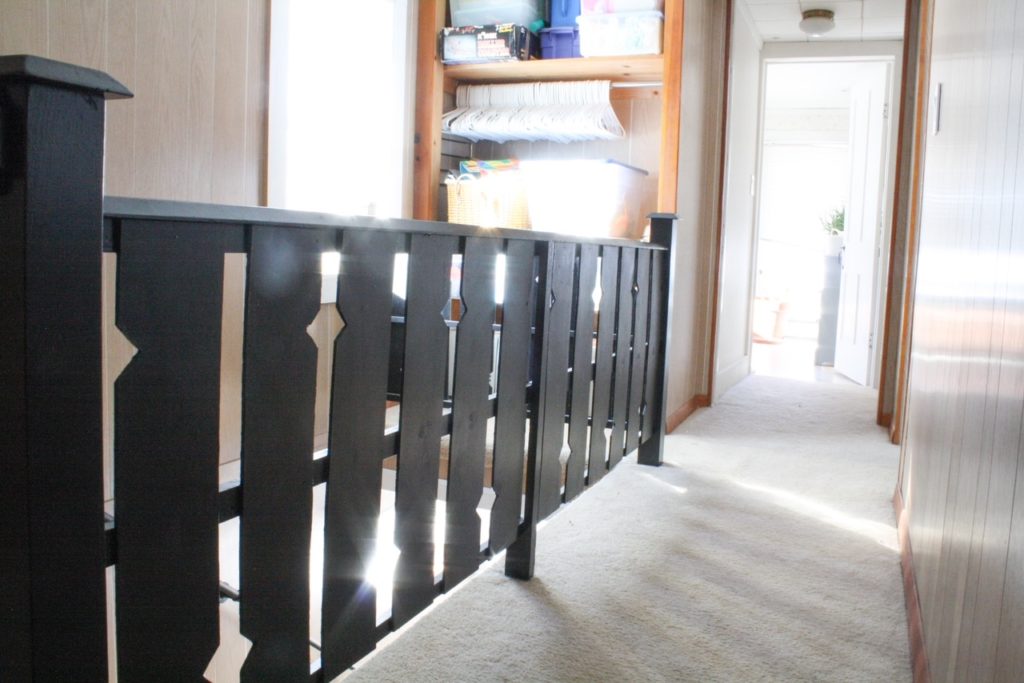
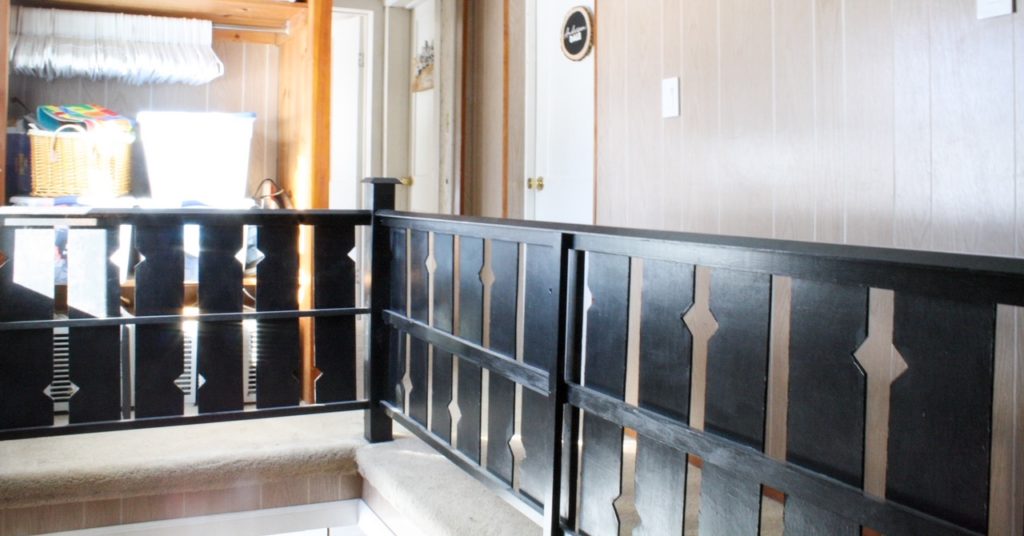
I then sanded down the filler and any rough edges. I also sanded the existing railing lightly so that the paint would stick to it better. Once all of the sanding was done, I put a couple of coats of black paint on.
Our Stair Railing Makeover Result
All in all I think this project could have been done in less than a day. Being a Mom of an 18 month old at the time I had to fit it in when he was at his grandparent’s house or down for a nap. I love the outcome, and other than the paint it was pretty much free. My favorite kind of project.


We plan on painting the paneling up here, and replacing these old carpets at some point. This project was definitely a step in the right direction. Every little bit counts. It takes a lot of work to make a home a dream home, and it doesn’t usually happen overnight. Not for us regular people anyway.
I hope this helped inspire you to tackle a project at your house. Simple, classic designs can make a big impact. This was obviously done for safety reasons more than anything, but I think our railing has way more character now.
Thank you for visiting our farmhouse! If you are looking for help while designing your own space you can find information on my design your space ebook here. If you want to see more before and afters please keep a look out for new posts. If you missed our move in day post you can find that here. We also have our bathroom renovation posted here.
