In case you think this bathroom reno happened overnight like HGTV shows lead you to believe this took us two years, no joke. At the time when we started this project we were both working full time, and somewhere in between we had our first baby. Life can get in the way, especially when you are in the baby phase but we got it done. A slow reno is not all bad though, it gives you time to really prioritize, save, and to realize how you actually use your space and how it would best function.
Before
I know we all enjoy the dreamy after pictures, but it’s way more rewarding when you get a real feel for how the space started out. This room pre-demo was such a dark cave. It was a clash of flowery wallpaper, yellow tile, avocado tub and surround and dingy linoleum flooring. One of these things on it’s own may not be so bad, but all together it was unsettling.
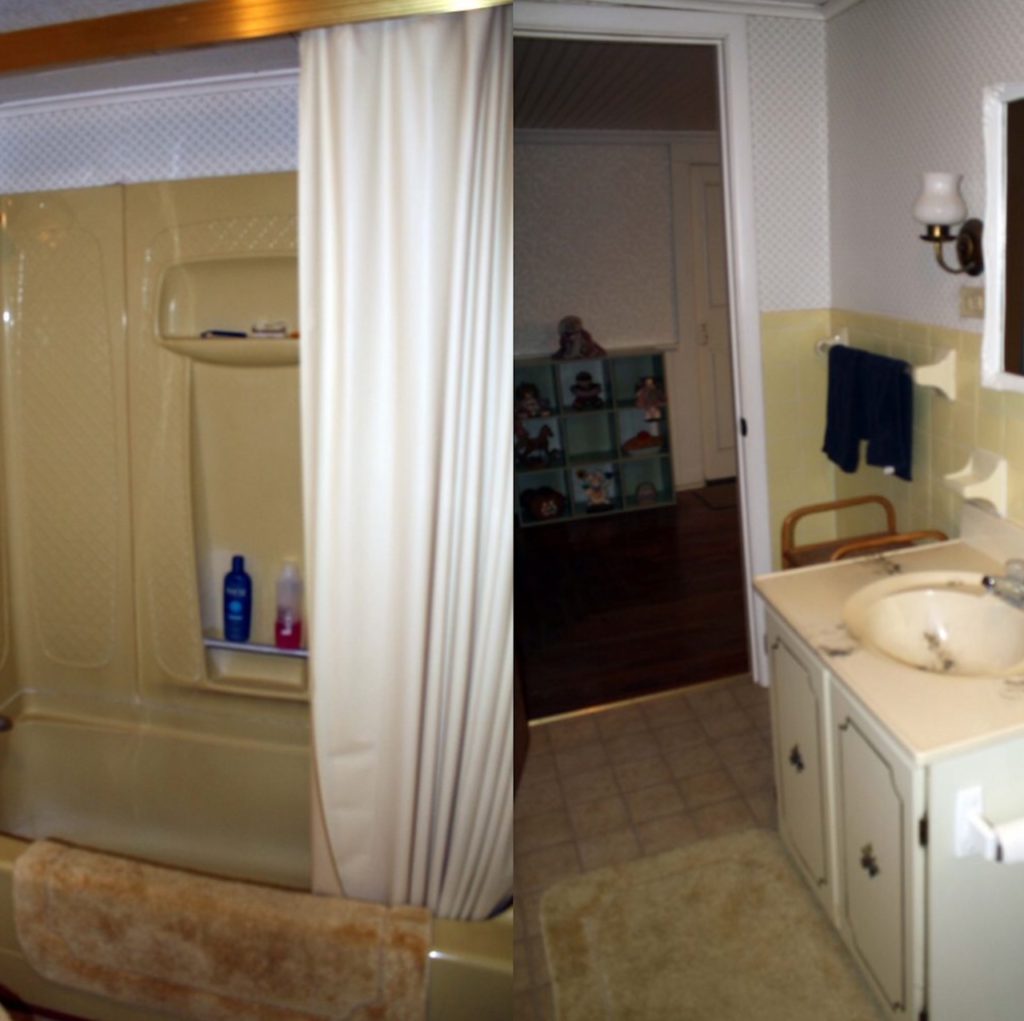
I mentioned before that when we took this room down to the studs we found some interesting clues to how this room used to be. First off there used to be a window on the wall where the tub surround is shown above. We loved the idea of putting a window back in. Also we found original wood flooring under the 3 layers of linoleum/plywood that helped us see how the space was laid out before. We decided to keep the main fixtures where they were located in this space. The lay out of this space wasn’t bad it was mostly the finishes that were the problem.
After: Tub Side
Ok enough walking down memory lane, let’s get to those dreamy after pictures. Do you see all of that natural sunlight? I can’t get enough of it. It also helps brighten up the half of our dining room that’s right outside the door.
One of the best decisions we made was putting that window back in. I know some people frown upon having a window in a bathroom for obvious privacy reasons. To me the benefits far outweigh the cons. One of the benefits being another great place to put plants (which helps add privacy haha).
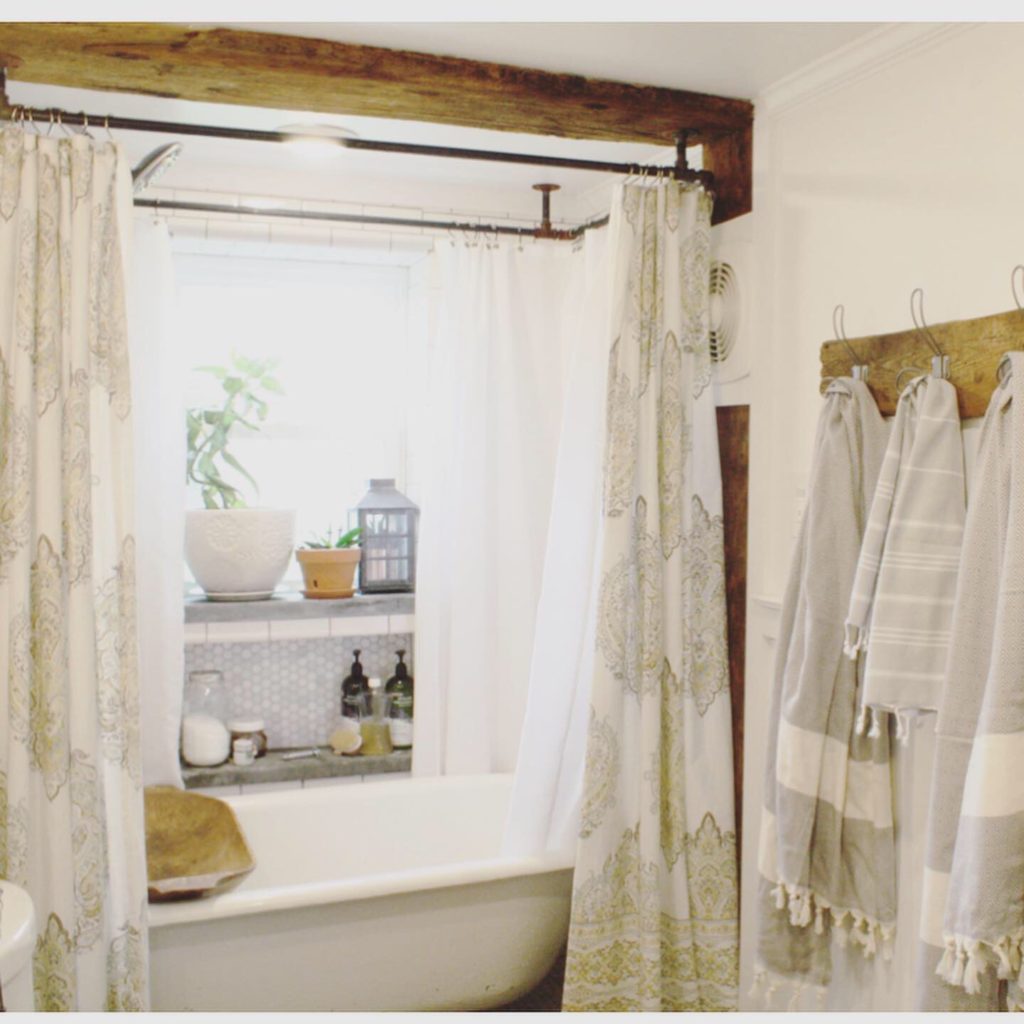
My husband and I made the shower curtain rod out of those threaded metal pipes you can find at most big box hardware stores. The barn wood framing the shower area is actually from our barn. We just sealed the wood since it is in such a high moisture area. I love the rough and warm look of the wood in contrast with all of the clean white.
For the shower curtains, I did a lot of searching and found this one before we even started demo. After we started renovating I realized we were going to need two pretty shower curtains. Luckily I was able to find a matching one on eBay a year or so later.
My favorite part of the room will forever be this beautiful cast iron tub that was a birthday gift to myself that I found on marketplace. The stone ledges are a close second. They were also a birthday gift that I appreciate every single day. The dough bowl was a great steal from an antique store many years ago when we lived in our first house. I love using it as a tray to hold a book or snack. If you’ve never had ice cream while soaking in a bubble bath are you even living?

After: Vanity Side
In the image below you can see what the final vanity color ended up being. I am really happy with the color, I was worried about going dark but I really like the contrast. It walks that nice line of being a classic, but also making a statement.
We bought a toilet paper holder that matches pretty well with our diy threaded pipe shower curtain rod. I love the glass pulls that the dresser originally had. Also this sink that we got for free with our tub makes me so happy. I wasn’t even sure I wanted it when the seller offered, but I am so grateful for that happy little accident.
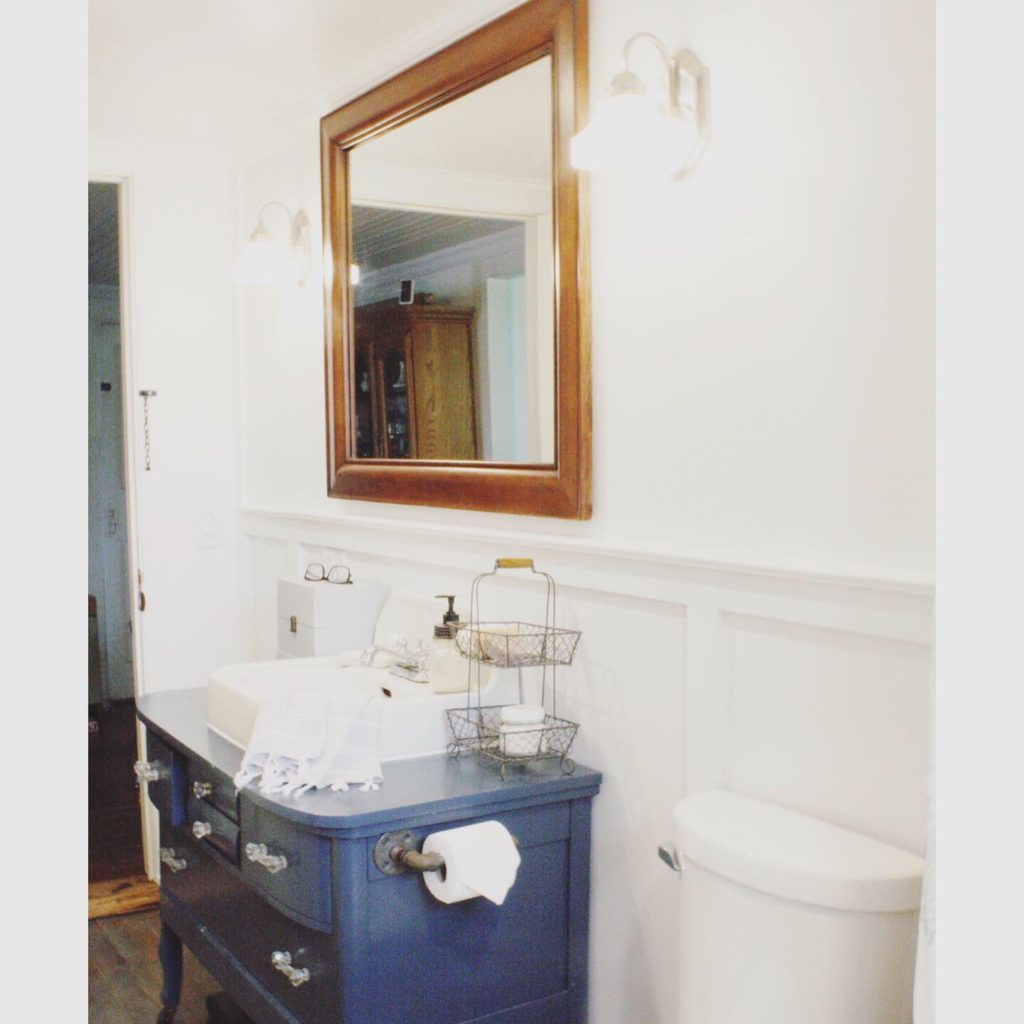
It’s hard to make out, but I love how the arabesque design on these sconces are a throw back to the design on the old tub surround. These lights were one of the first things I bought for this room, right around the time I bought that first shower curtain. Above you can see part of the grey stained original wood flooring. My husband put some time and effort into refinishing the floor in here, and I’m so glad that we did that instead of tiling.
After: Cabinet & Towel Rack Side
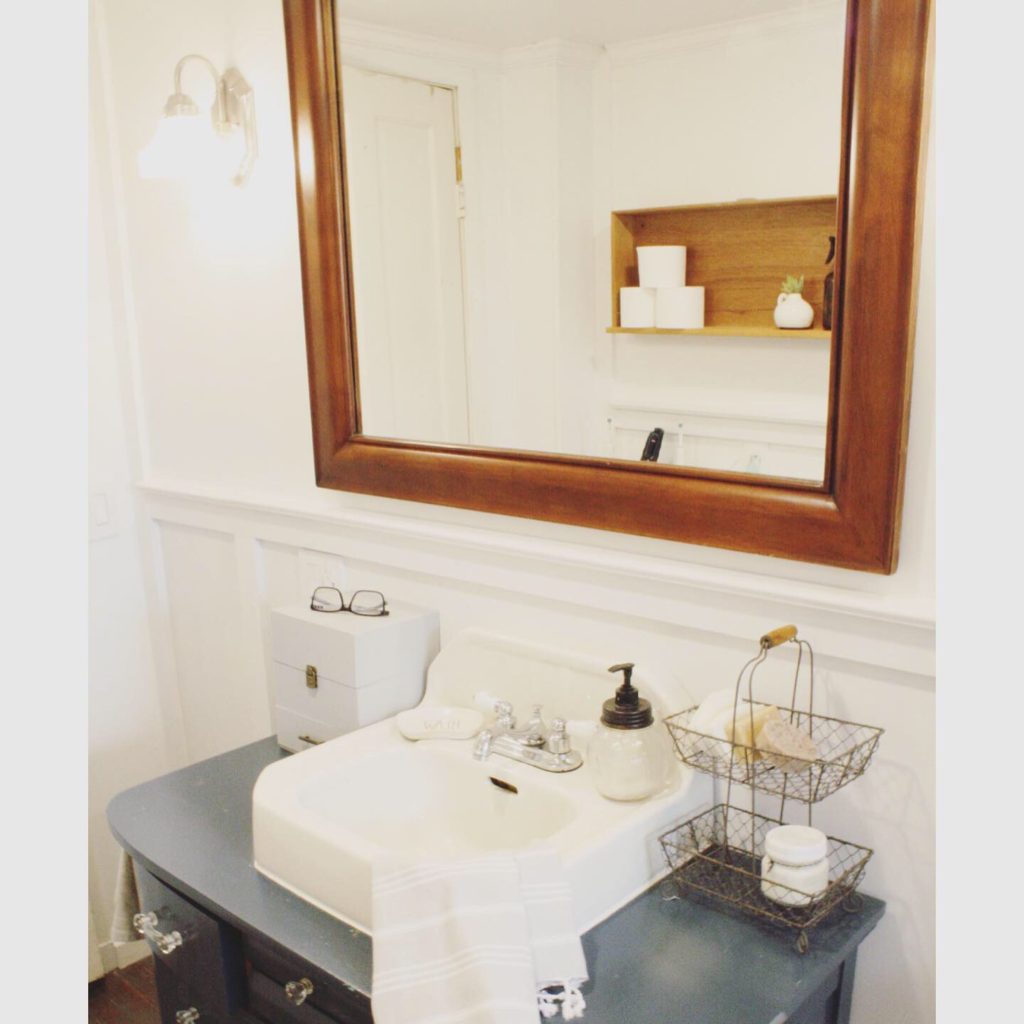
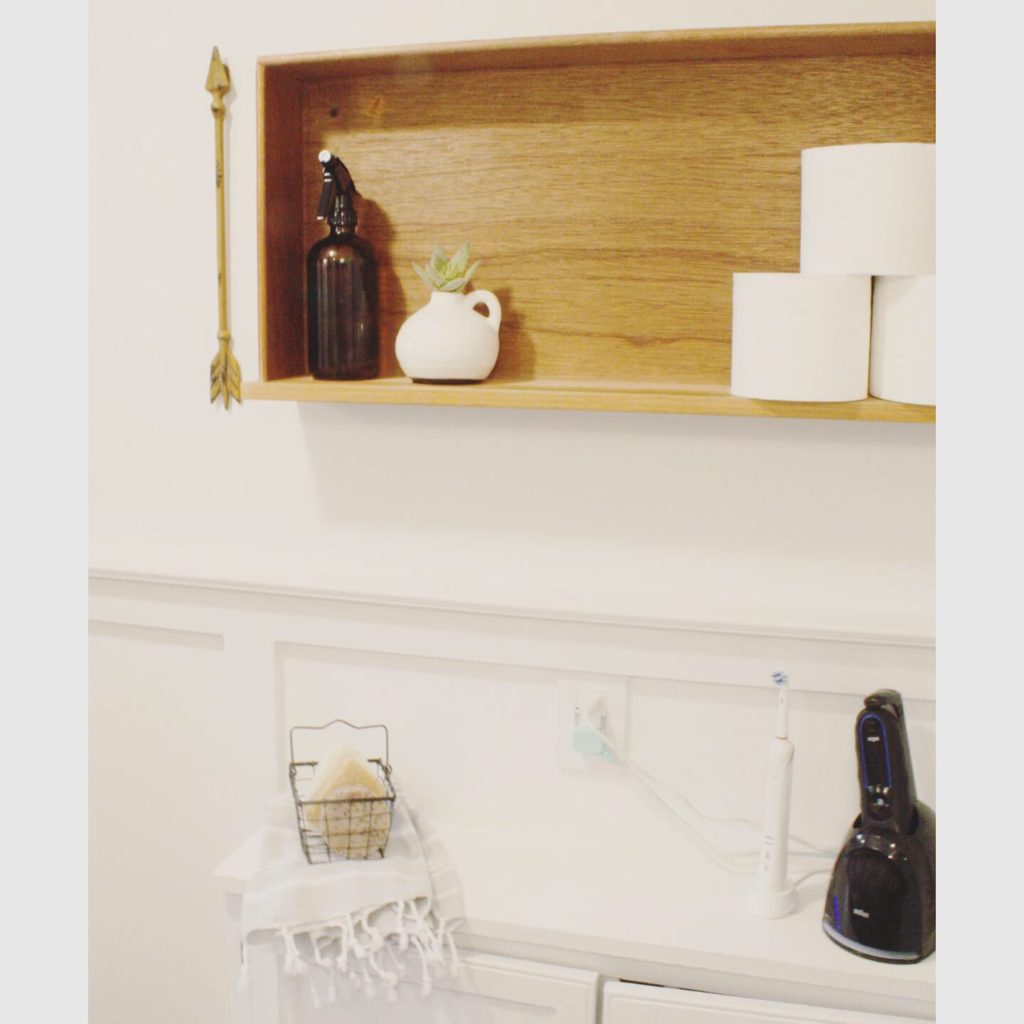
Below you can see the shallow white cabinet my husband and I built. It’s hidden behind the bathroom door most of the time, but it adds some much needed closed storage. We use it kinda like our medicine cabinet, since we took out the old one that was in here and decided to put a large mirror in it’s place. This also provides a nice ledge to put our not so pretty toothbrushes and razor that again are hidden by the open bathroom door the majority of the time.
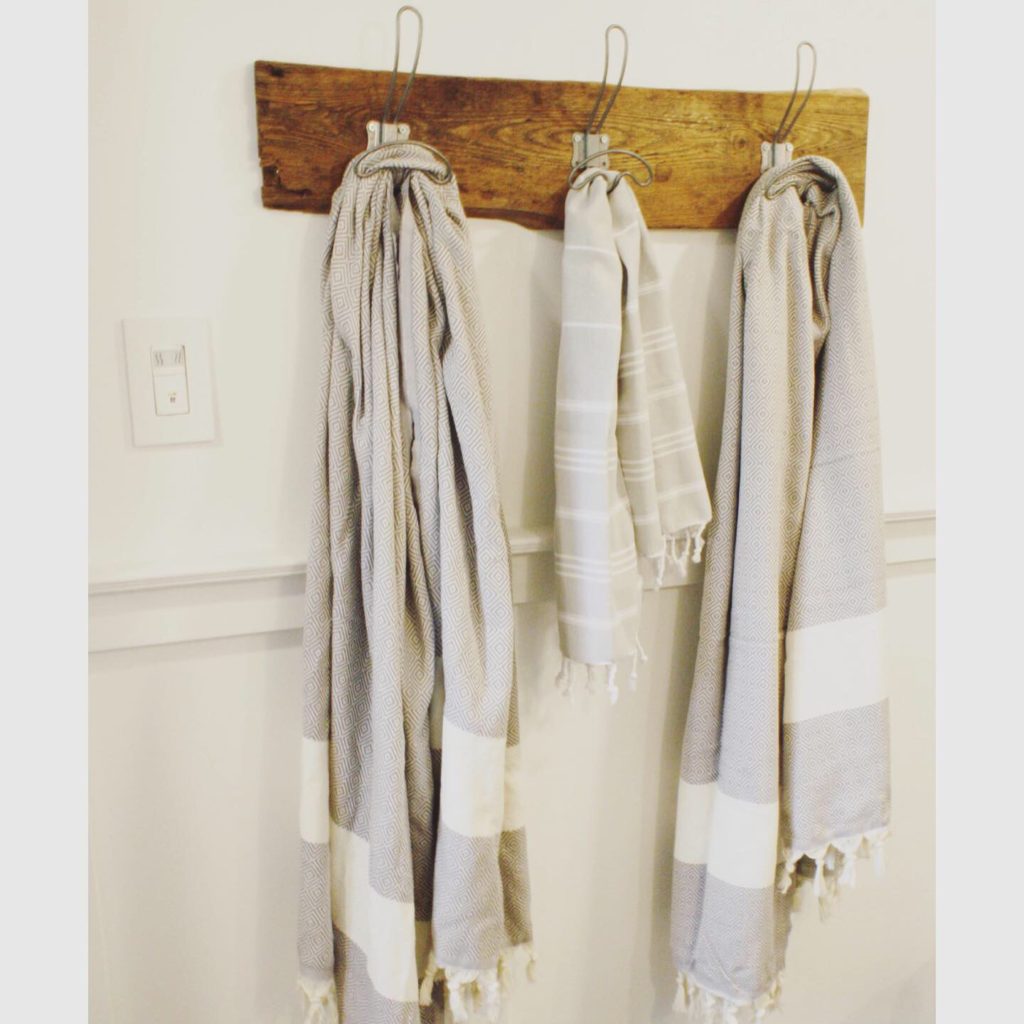
My husband and I made the towel rack below with wood from our barn, and some hooks we found online. I had to actually spray paint the hooks though because after using them for a little bit they started to rust. Unfortunately our white towels at the time got some gross orange spots. I wish I had known that they were going to rust like that, but I’m happy with the final result.
It’s such a balance trying to keep a space aesthetically pleasing, but also super functional. I think we did a pretty good job with that in this space. This room has become so much more relaxing and happy, as happy as a little bathroom can be.
As always our spaces change as we grow and change. Keep checking back to see changes to this space and others as we continue working our way through this old farmhouse. If you missed our walk through day 1 of owning this farmhouse you can find that here. Also I talked about how we were able to renovate this bathroom on such a small budget here. If you are looking for help while designing your own space you can find information on my design your space ebook here. Thanks for visiting our farmhouse, hope you visit again soon!
